– OR: How I used a floppy disk to pwn a security system –
I recently got a Lenovo ThinkPad T430 from my employer. My first thought after I saw that it was running Windows XP was “Can I make it run Linux?”. Luckily we weren’t forbidden to boot another OS than the stock one on it. Admittedly, they didn’t explicitly allow us to do it either. To be accurate, they didn’t say a single thing on what we are supposed to do with these computers. So I can’t be wrong if I don’t change anything on the system, can I?
Anyways, to the fun part! Officially, the notebook has two Windows-systems on it. One for use in the company and one for “private” use. The BIOS is password protected and booting from any device other than the internal hard drive has been disabled. Since I am definitely not allowed to modify the hardware on this computer, I didn’t even start thinking about swapping the hard drive or similar things. Instead, I focused on the software. One thing immediately caught my eye, they are using a program called “eXtended FDisk” to select the OS on boot.
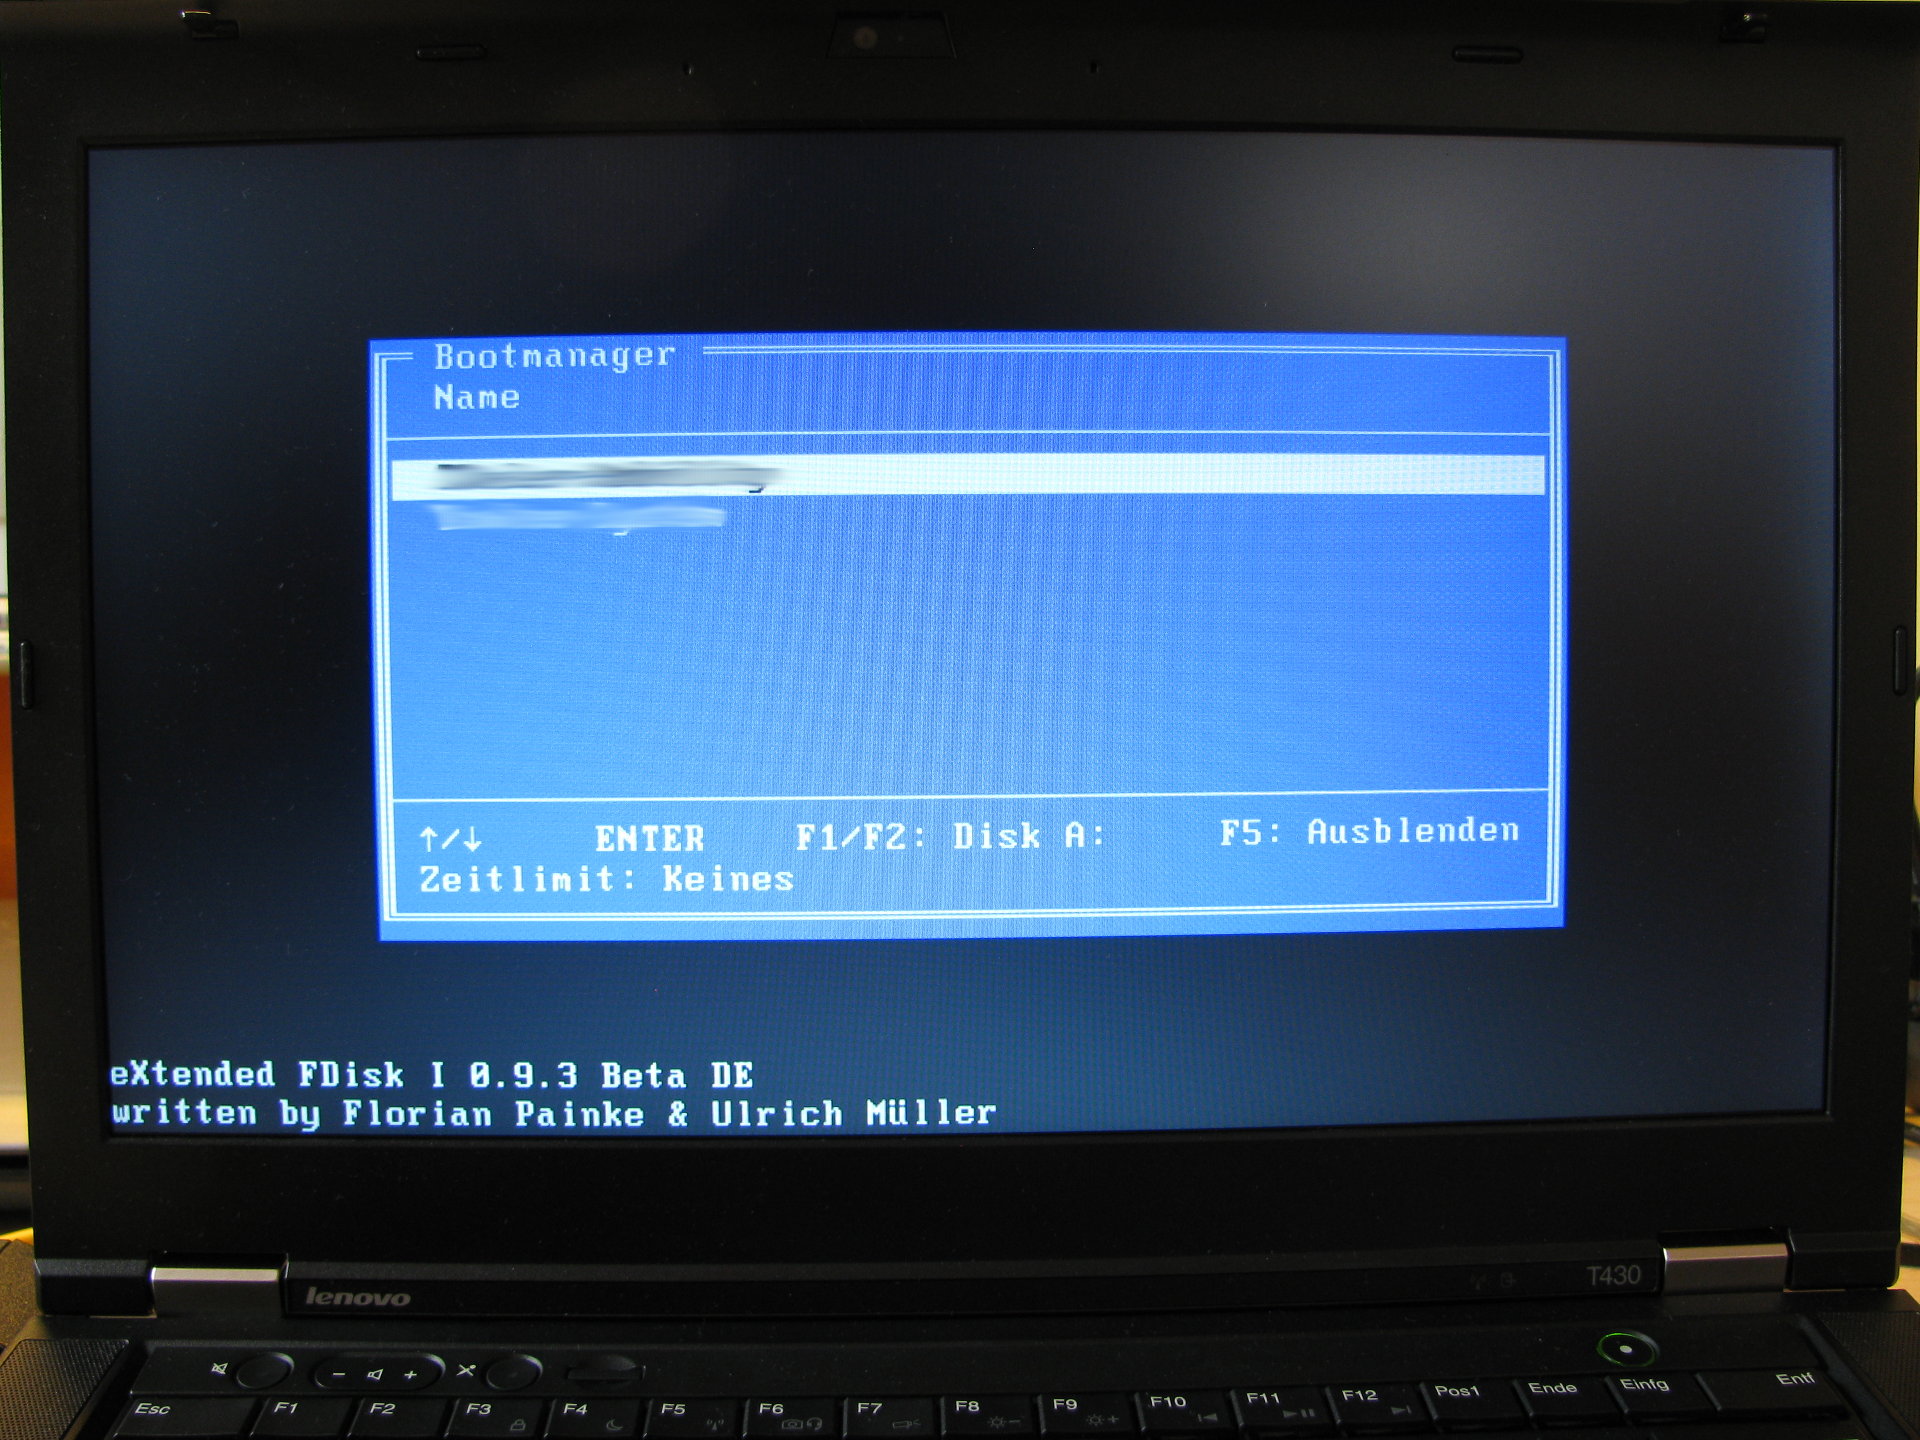
The used bootmanager: eXtended FDisk
Apart from the fact that this is a beta version, I noticed the little text on the bottom saying “F1/F2: Disk A:”. Sounds like we might be able to boot using a Floppy, and sure we are. So I grabbed my USB floppy drive and one of my old DOS disks and threw it in. A few seconds later I had MS-DOS running on my laptop. Quickly I remembered that running MS-DOS on that machine wasn’t my goal and I continued pursuing my actual target. Since booting Linux from a floppy disk (if even possible) isn’t much fun, I somehow needed to boot an OS from a drive other than A. For the time being, I went the obvious path and used that I am able to execute code using a floppy disk. This code may also be another bootloader. After a few tries, I settled with Plop (plpbt).
I plugged in my USB flash drive with Ubuntu Linux on it, inserted the Plop-disk into my FDD and restarted the computer. And there it was: A boot option for the flash drive.
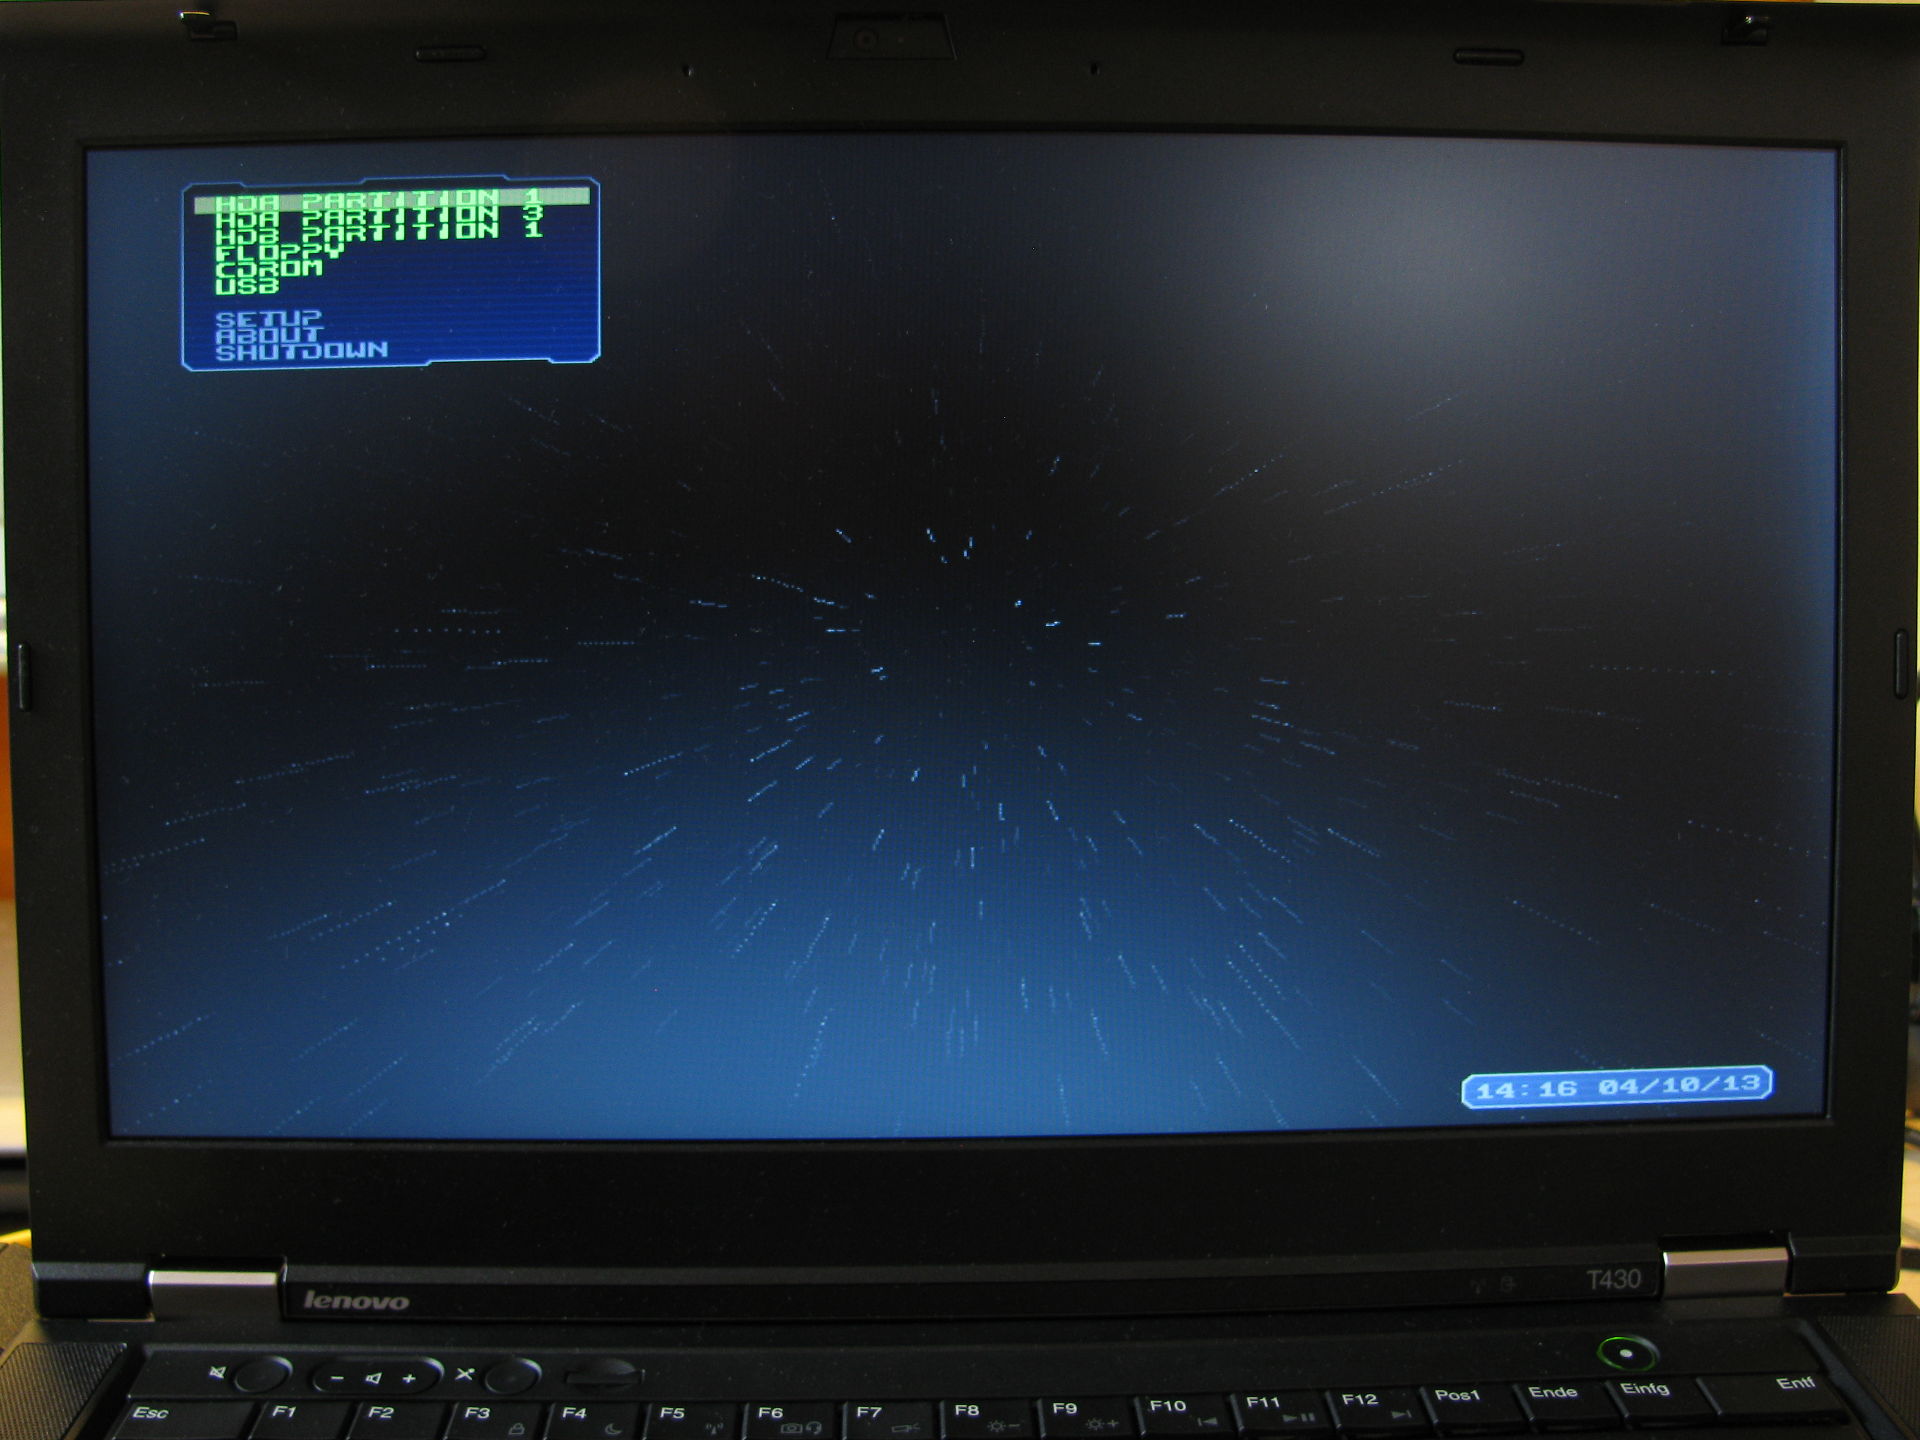
Plop Bootmanager
For some reason, I was getting a blank screen when trying to boot the MBR of my flash drive using Plop. However, this can be circumvented by pressing “q” in the main menu and selecting the partition manually. In my case it was HDB Partition 2.
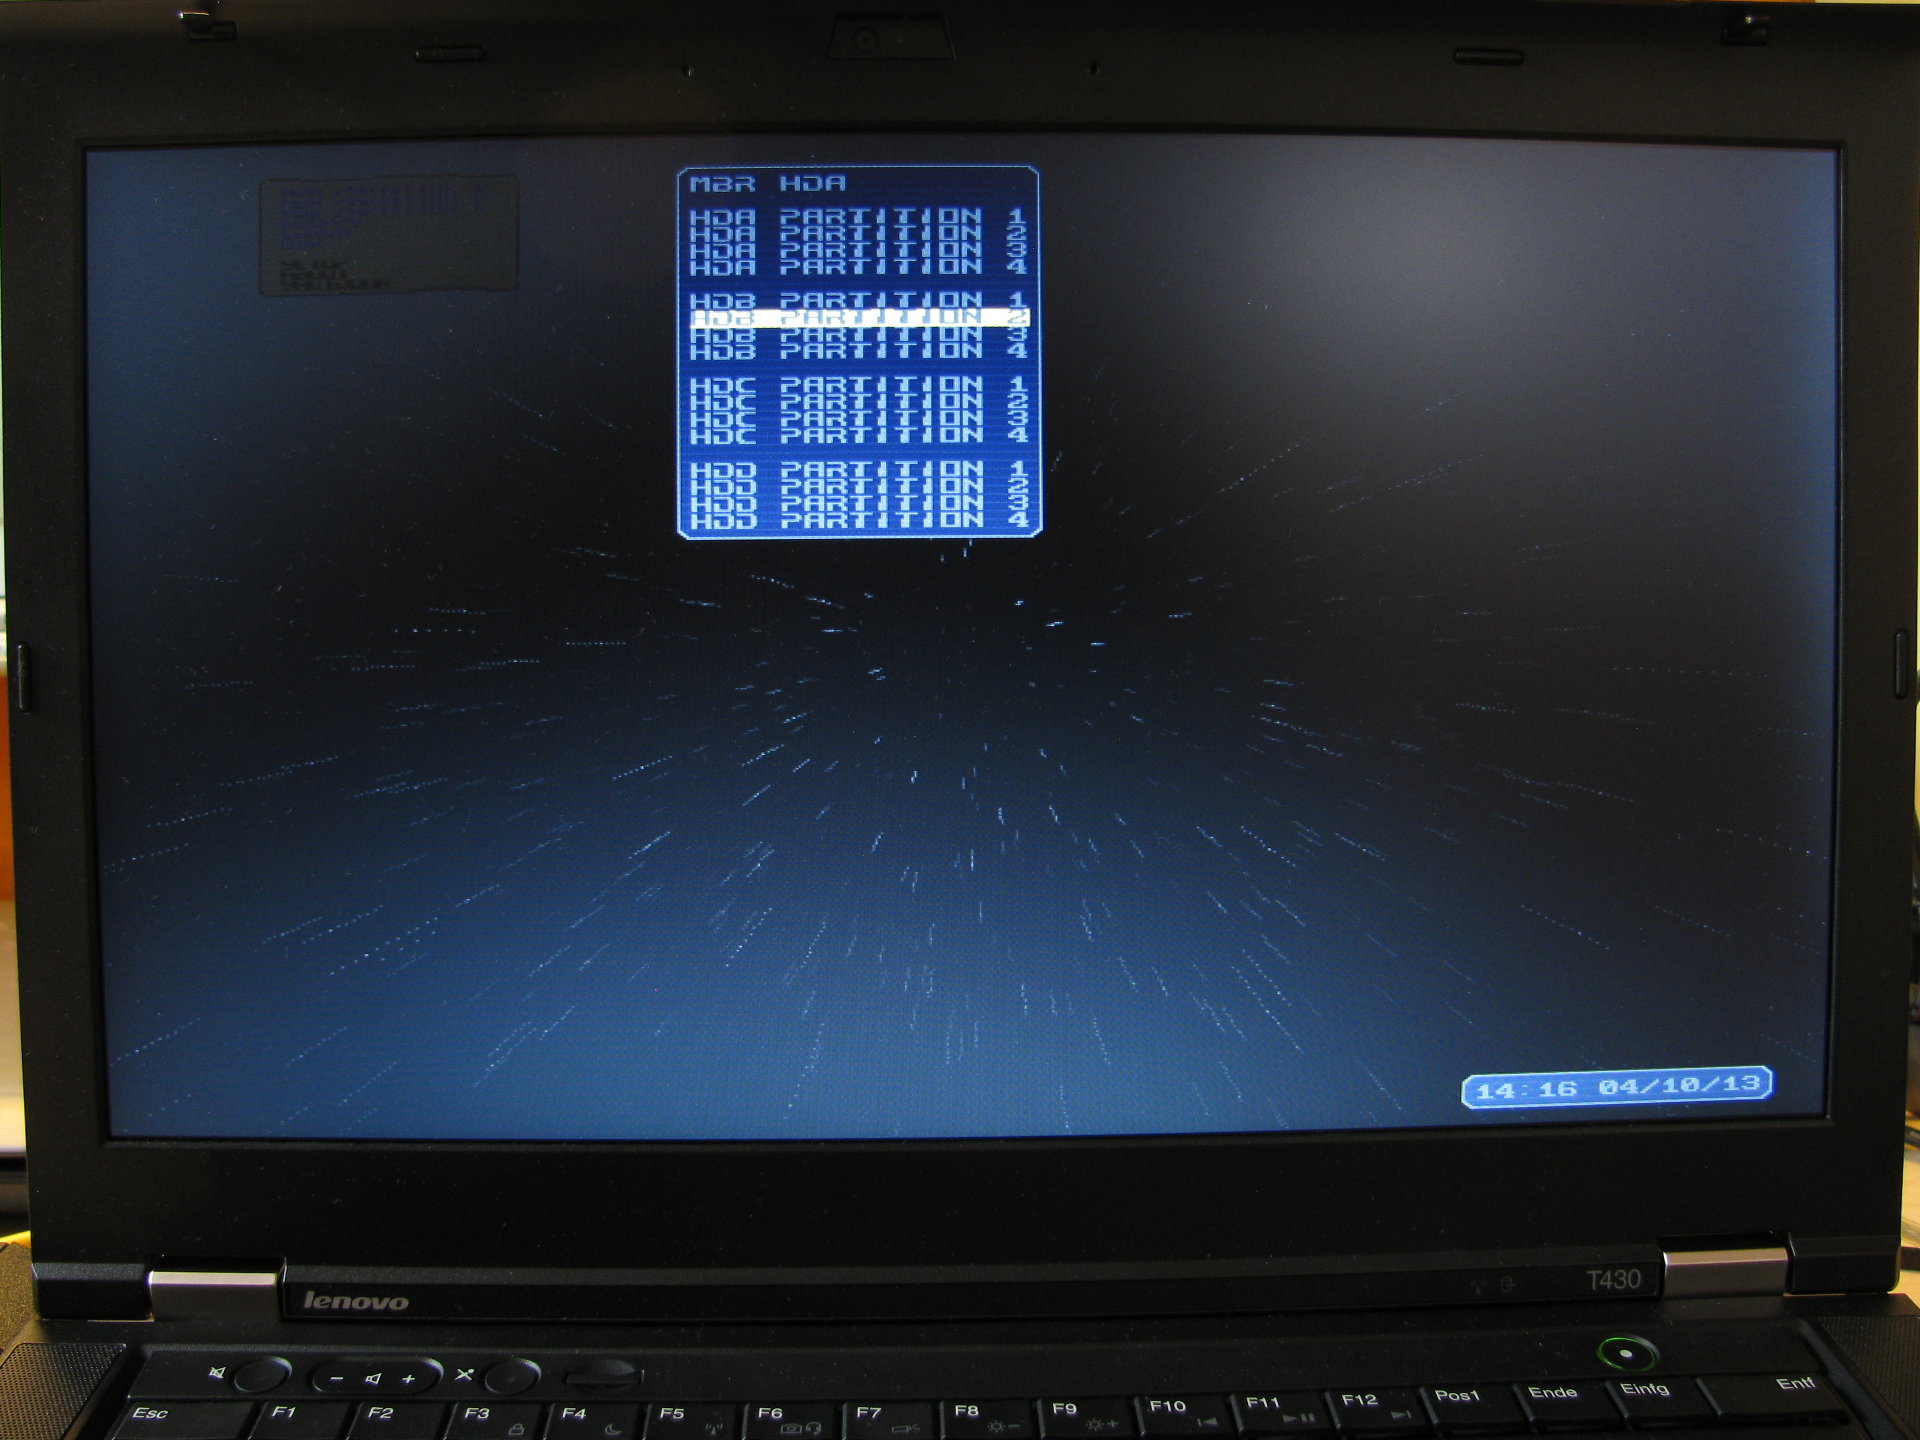
Just select the correct drive and partition…
Just ignore the warning regarding that the bootsector is the MBR if it appears and press “Y” (or “Z” in case you have German keyboard layout).
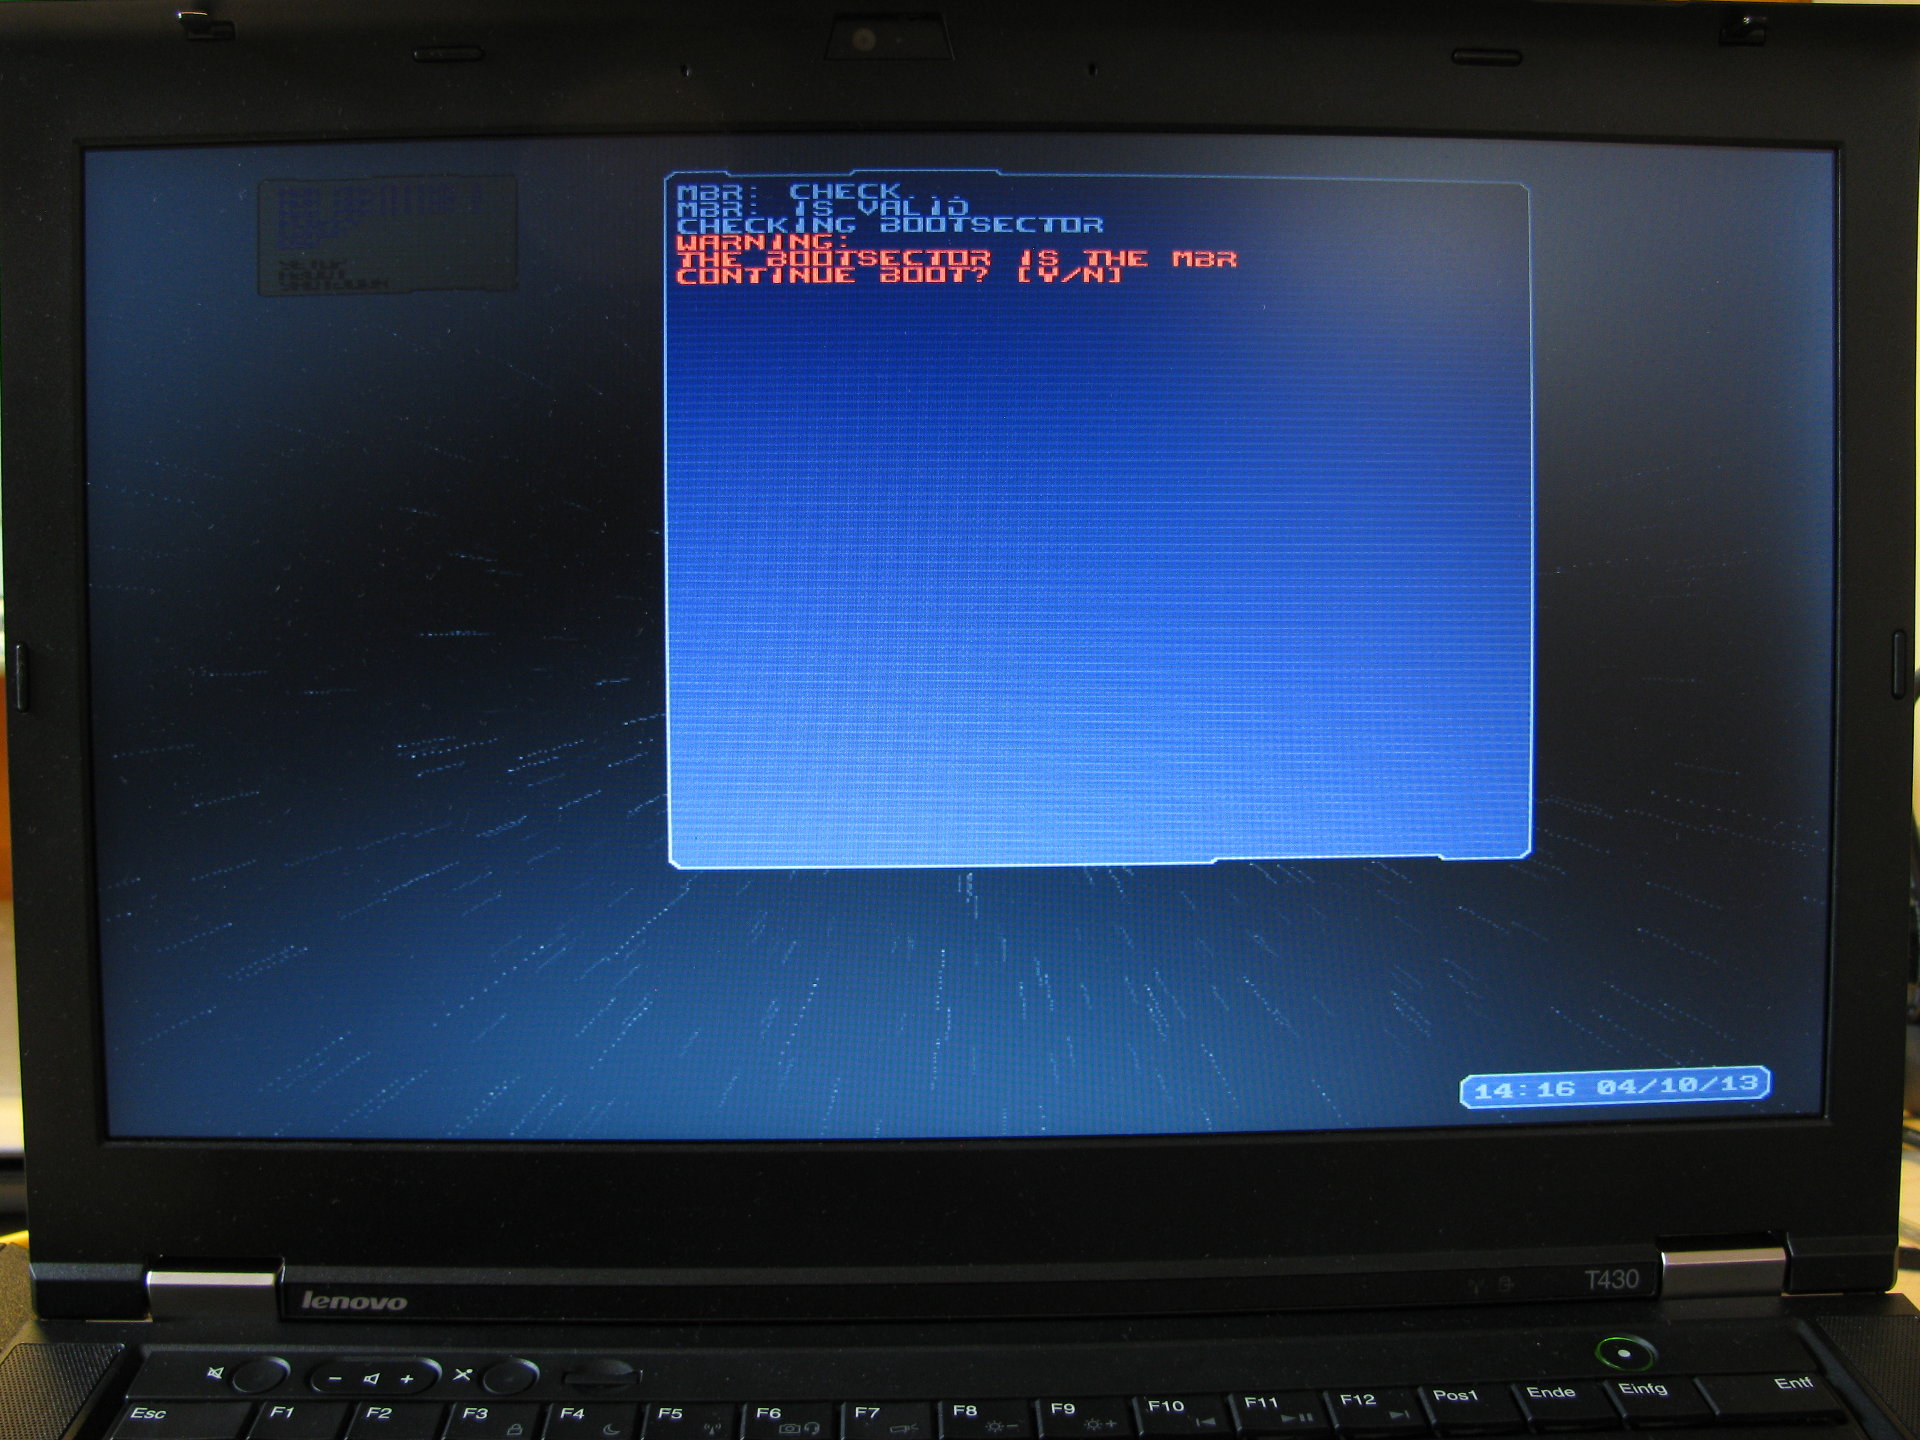
Simply ignore the warning and press Y.
Shortly after and to conclude the exercise for now, I had this on my screen:
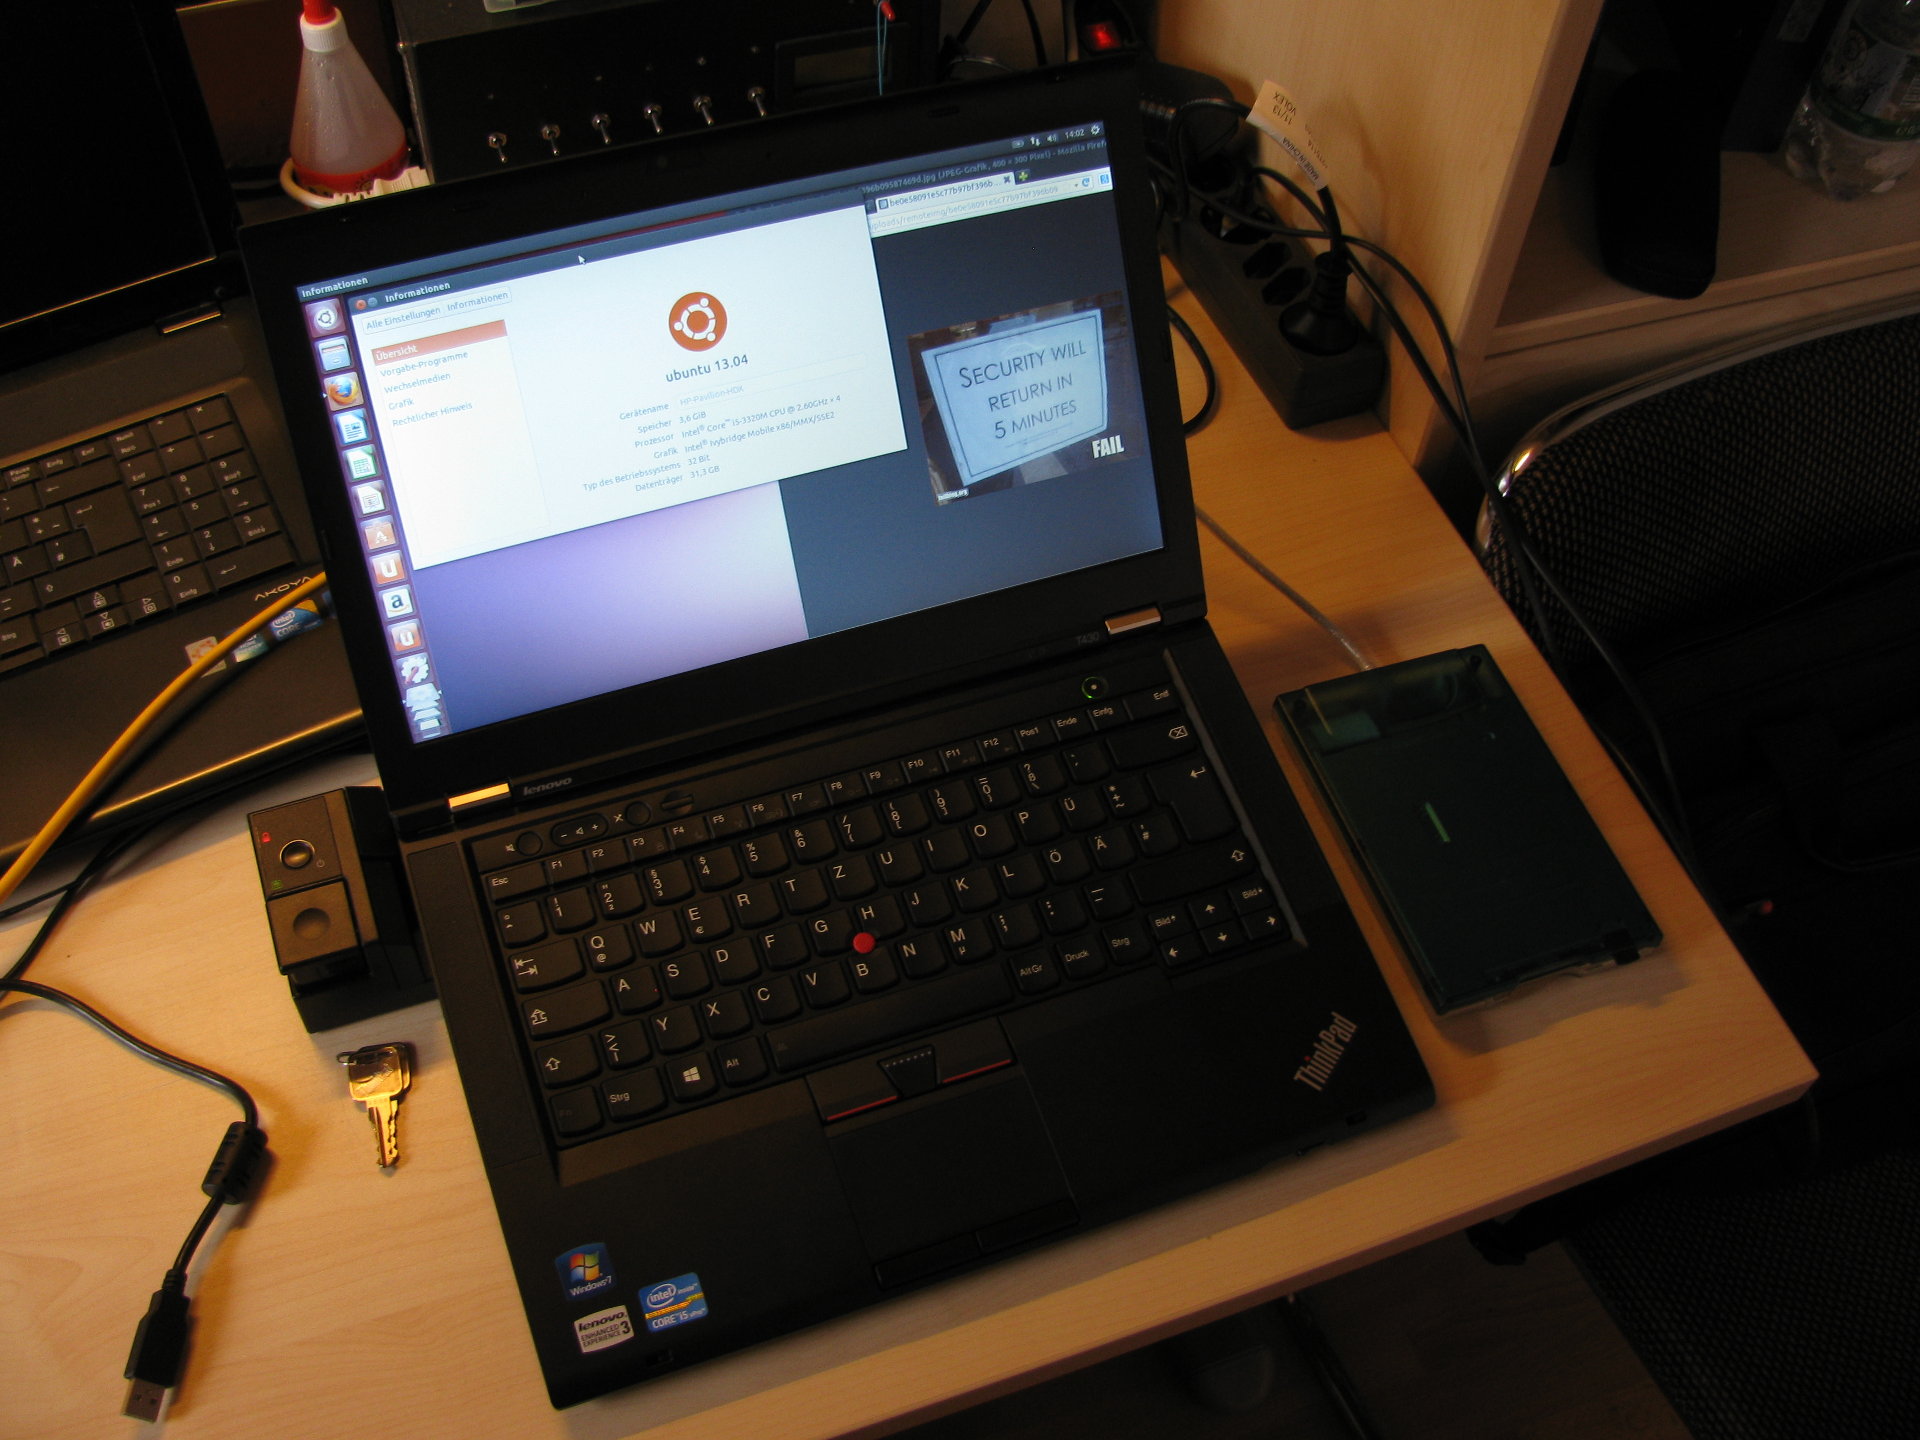
Finally got Linux to boot!
Final thoughts
I successfully completed what I wanted to do. It might be a bit convoluted and having to use a floppy disk isn’t the fastest and quietest way to boot a computer, but for using this machine at home, it’s all right.
However, this security hole did not have to be in the system since eXtended FDisk supports password protection for the boot-from-floppy option. Also, as a infosec person, I would never recommend deploying software in beta status on “production devices”. Maybe they just thought “Ah, who even has floppy drives these days?! We don’t need to care about this!”
One path which I did not pursue at all is trying to reconfigure eXtended FDisk. This should also be possible and we would not need a floppy drive at all. The sweet thing about the FDD-solution is that it can not be traced at all whereas the other solutions require changes to the installed system.